Add users and assign licenses at the same time
Check out all of our small business content on Small business help & learning.
The people on your team each need a user account before they can sign in and access Microsoft 365 for business. The easiest way to add user accounts is to add them one at a time in the Microsoft 365 admin center. After you do this step, your users have Microsoft 365 licenses, sign in credentials, and Microsoft 365 mailboxes.
If you need help with the steps in this topic, consider working with a Microsoft small business specialist. With Business Assist, you and your employees get around-the-clock access to small business specialists as you grow your business, from onboarding to everyday use.
Before you begin
You must be a global, license, or a user admin to add users and assign licenses. For more information, see About admin roles.
Watch: Add users in the dashboard view
Check out this video and others on our YouTube channel.
The steps used in the video show a different starting point for adding users, but the remaining steps are the same as the following procedure.
Add users one at a time in the dashboard view
- Go to the Microsoft 365 admin center at https://admin.cloud.microsoft.
- Go to the admin center at https://portal.partner.microsoftonline.cn.
- Go to Users >Active users, and select Add a user.
- In the Set up the basics pane, fill in the basic user information, and then select Next.
- Name Fill in the first and last name, display name, and username.
- Domain Choose the domain for the user's account. For example, if the user's username is Jakob, and the domain is contoso.com, they'll sign in by using jakob@contoso.com.
- Password settings Choose to use the autogenerated password or to create your own strong password for the user.
- The user must change their password after 90 days. Or you can choose to Require this user to change their password when they first sign in.
- Choose whether you want to send the password in email when the user is added.
- In the Assign product licenses pane, select the location and the appropriate license for the user. If you don't have any licenses available, you can still add a user and buy additional licenses. Expand Apps and select or deselect apps to limit the apps the user has a license for. Select Next.
- In the Optional settings pane, expand Roles to make this user an admin. Expand Profile info to add additional information about the user.
- Select Next, review your new user's settings, make any changes you like, then select Finish adding, then Close.
Add a user in the admin simplified view
If you're seeing this page in the admin center, you're on the admin simplified view. Follow the steps below to add a user.
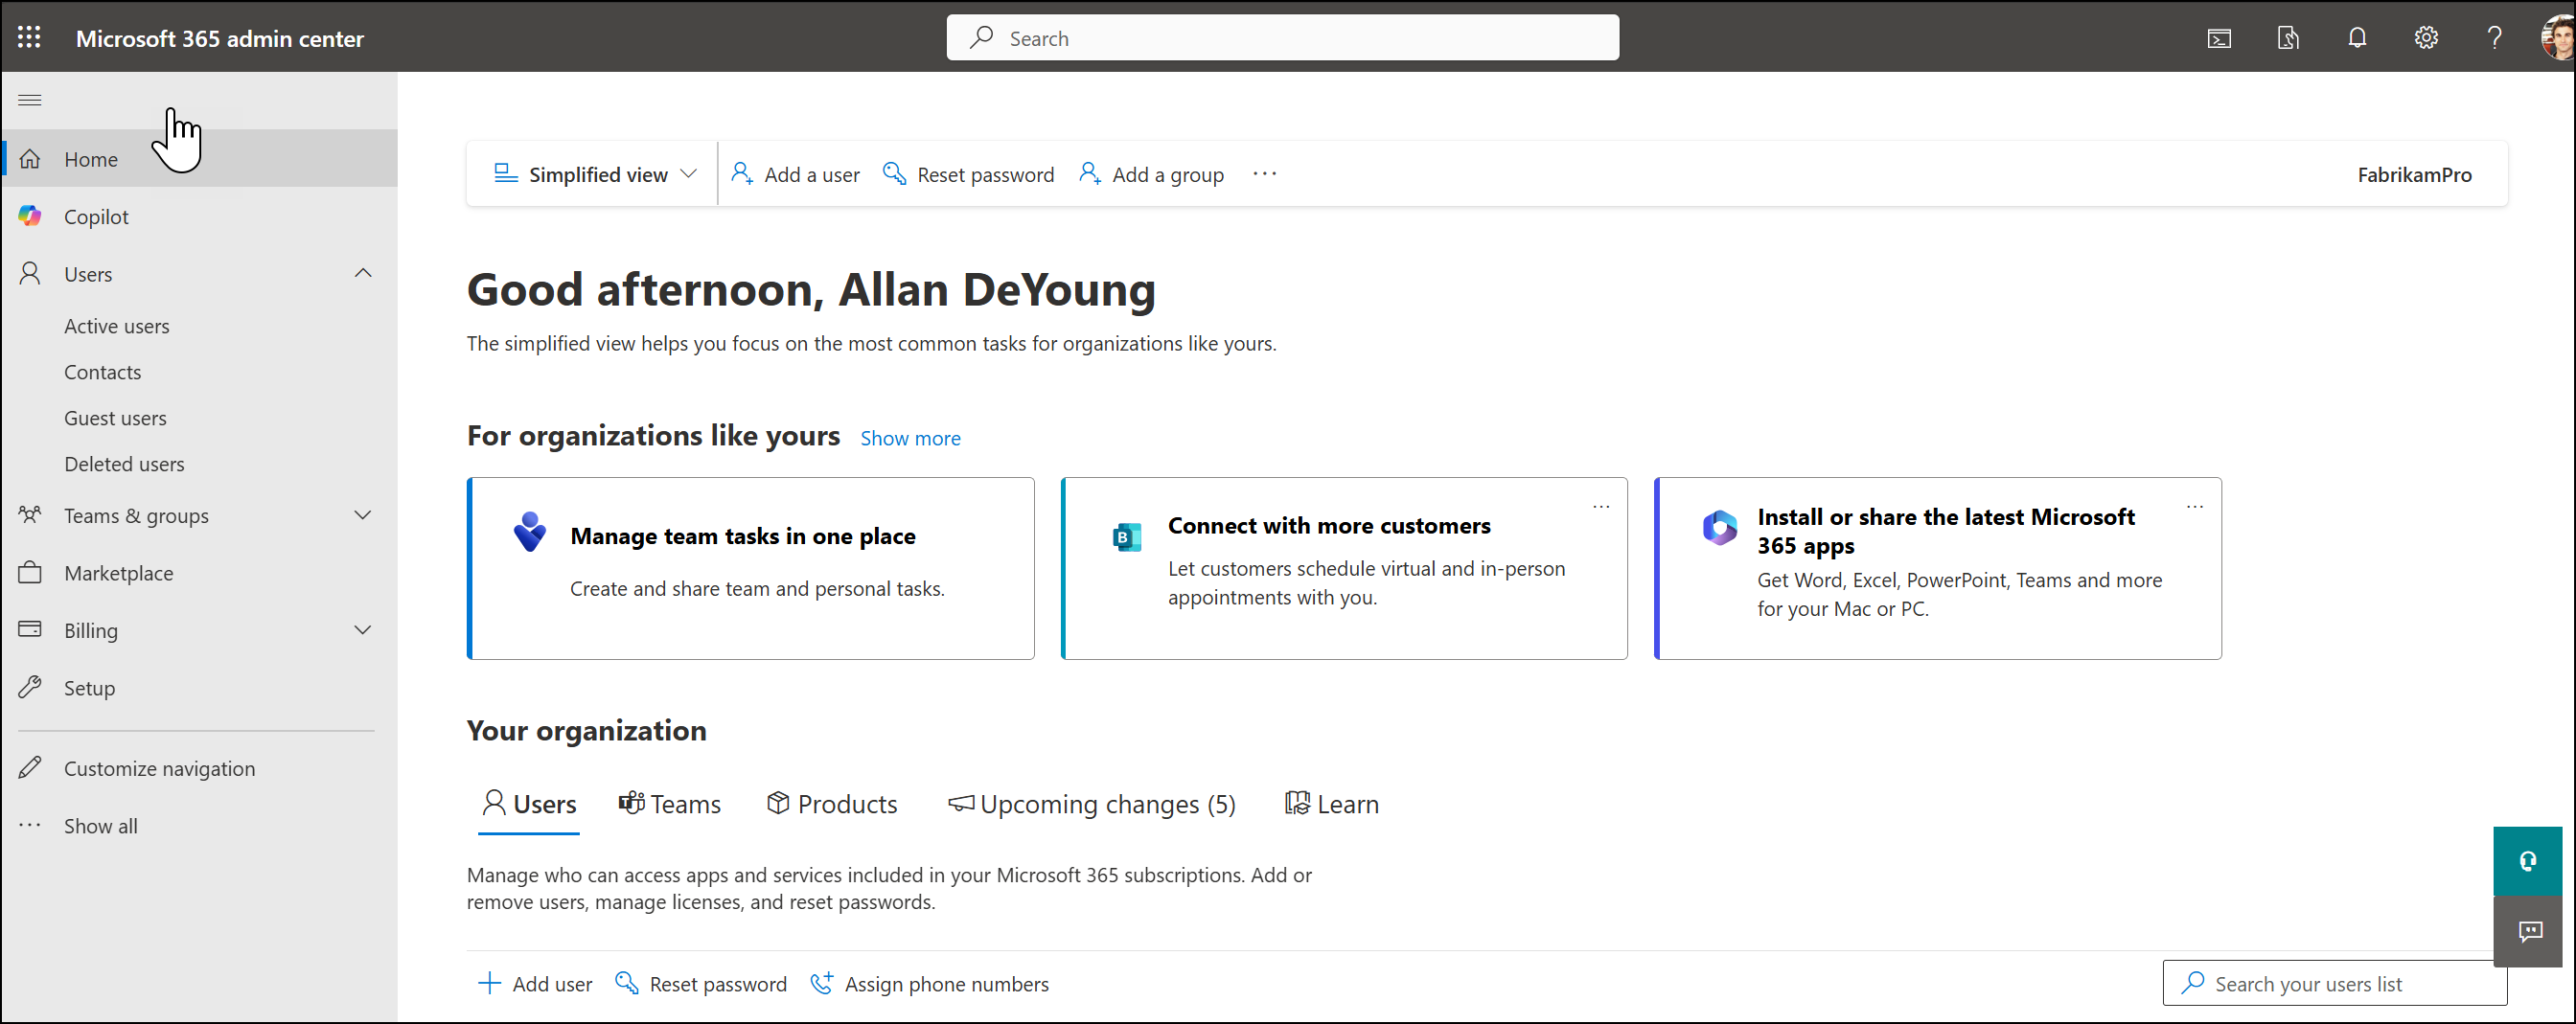
- Go to the Microsoft 365 admin center at https://admin.cloud.microsoft.
- Go to the admin center at https://portal.partner.microsoftonline.cn.
- Select Add user. You can select either the Add user button at the top of the page or in the Users tab under Your organization.
- In the Set up the basics pane, fill in the basic user information, and then select Next.
- Name Fill in the first and last name, display name, and username.
- Domain Choose the domain for the user's account. For example, if the user's username is Jakob, and the domain is contoso.com, they'll sign in by using jakob@contoso.com.
- Automatically create a password Choose to use the autogenerated password or to create your own strong password for the user.
- The user must change their password after 90 days. Or you can choose to Require this user to change their password when they first sign in.
- Choose whether you want to send the password in email when the user is added.
- Send password in email upon completion - Choose whether you want to send the password in email when the user is added.
- In the Assign product licenses pane, select the location and the appropriate license for the user. If you don't have any licenses available, you can still add a user and buy additional licenses. Expand Apps and select or deselect apps to limit the apps the user has a license for. Select Next.
- In the Optional settings pane, expand Roles to make this user an admin. Expand Profile info to add additional information about the user.
- Select Next, review your new user's settings, make any changes you like, then select Finish adding, then Close.
Watch: Add multiple user
Add multiple users at the same time in dashboard view

- Go to Users >Active users, and select Add multiple users.
- On the Add list of user page, choose whether to add user's one at a time or use a spreadsheet to add your new users.
- Select I'd like to upload a CSV with user information. Download the example CSV file and make sure your spreadsheet includes the exact same column headings as the sample CSV file (User Name, First Name, and so on). If you use the sample CSV file, open it in an editing tool, like Microsoft Excel, and consider leaving all the data in row 1 alone, and only entering data in rows 2 and below. Your spreadsheet also needs to include values for the user name (like bob@contoso.com) and a display name (like Bob Kelly) for each user. When you're done entering your user's information, select Browse and navigate to the location of your CSV file and select Open.
- Choose Next.
- On the Licenses page, select the licenses you want to assign your users and choose Next.
- Review your selections and choose Add users.
You can also use any of the following methods to add multiple users at the same time:
- Automate adding accounts and assigning licenses. See Create user accounts with Microsoft 365 PowerShell. Choose this method if you're already familiar with using Windows PowerShell cmdlets.
- Using ActiveDirectory?Set up directory synchronization for Microsoft 365. Use the Microsoft Entra Connect tool to replicate Active Directory user accounts (and other Active Directory objects) in Microsoft 365. The sync only adds the user accounts. You must assign licenses to the synced users before they can use email and other apps for Microsoft 365.
- Migrating from Exchange? See Ways to migrate multiple email accounts to Microsoft 365. When you migrate multiple mailboxes to Microsoft 365 by using either cutover, staged, or a hybrid Exchange method, you automatically add users as part of the migration. The migration only adds the user accounts. You must assign licenses to the users before they can use email and other apps for Microsoft 365. If you don't assign a license to a user, their mailbox is disabled after a grace period of 30 days. Learn how to assign licenses to users in the Microsoft 365 admin center.
Create, edit, or delete custom user views
If you're a global or user management admin of a Microsoft 365 for business subscription, you can create up to 50 custom user views to view subsets of users. These views are in addition to the standard set of views. You can create, edit, or delete custom user views, and the custom views you create are available to all admins.
When you create, edit, or delete a custom user view, the changes are shown in the Filter list that all admins in your company see when they go to the Users page.
Standard user views are displayed by default in the Filters drop-down list. The standard filters include All users, Licensed users, Guest users, Sign-in allowed, Sign-in blocked, Unlicensed users, Users with errors, Billing admins, Global admins, Helpdesk admins, Service admins, and User management admins. You can't edit or delete standard views.
A few things to note about standard views:
- Some standard views display an unsorted list if there are more than 2,000 users in the list. To locate specific users in this list, use the search box.
- If you didn't purchase Microsoft 365 from Microsoft, Billing admins don't appear in the standard views list. For more information, see Assigning admin roles.
Choose the filters for your custom user view
You can create and edit your custom views in the Custom filter pane. If you select multiple filter options, you get results that contain users who match all the selected criteria. The following example shows you how to create a custom view named "Canadian users" that shows all users on a specific domain who are in Canada.
A - Domain If you have multiple domains for your organization, you can choose from a drop-down list of domains that are available.
B - Sign-in status Choose users that are allowed or blocked.
C - Location Choose a location from a drop-down list of countries/regions.
D - Assigned product license Choose from a drop-down list of licenses that are available at your organization. Use this filter to show users who have the license you selected assigned to them. Users may also have additional licenses.
You can also filter by additional user profile details used in your organization such as department, city, state or province, country or region, or job title.
Other conditions:
- Synchronized users only Select this box to show all users who have been synced with the local Active Directory, regardless of whether the users have been activated or not.
- Users with errors Select this box to show users who may have provisioning errors.
- Unlicensed users Select this box to find all the users who haven't been assigned a license. The results for this view can also include users who have an Exchange mailbox but don't have a license. To track those users specifically, use the filter Unlicensed users with Exchange mailboxes or archives. The results for this view can also include users who have an Exchange archive, but don't have a license.
- Unlicensed users with Exchange mailboxes or archives Select this box to show user accounts that were created in Exchange Online and have an Exchange mailbox, but weren't assigned a Microsoft 365 license. The results of this filter include users who have or who were assigned an Exchange archive.
The Unlicensed users with Exchange mailboxes filter works when:
- The mailbox has been recently converted from shared to user and it has no license.
- The mailbox has been recently migrated to Microsoft 365 but a license has not been assigned.
- The mailbox has been created using PowerShell, and a license has not been assigned.
- A new mailbox that has been created on-premise with a New-RemoteMailbox cmdlet is provisioned for the user.
If you create a custom view that returns more than 2,000 users, the resulting user list isn't sorted. In this case, use the search box to find users or edit your custom view to refine your search.
Create a custom user view
- In the admin center, go to Users >Active users.
- In the admin center, go to Users >Active users.
- On the Active users page, select Filters and select New filter.
- On the Custom filter page, enter the name for your filter, choose the conditions for your custom filter, and then select Add. Your custom view is now included in the drop-down list of filters.
Edit or delete a custom user view
- In the admin center, go to Users >Active users.
- In the admin center, go to Users >Active users.
- On the Active users page, select Filter, select the filter you want to change, and then select Edit filter.
Tip You can edit only custom views.
Next steps
After you add a user, you get an email notification from Microsoft. The email contains the person's user ID and password so they can sign in to Microsoft 365. Use your normal process for communicating new passwords. Share the Employee quickstart guide with your new users to set up things, like how to Download and install or reinstall Microsoft 365 or Office 2021 on a PC or Mac and how to Set up Microsoft 365 apps and email on a mobile device.
